

You've found the perfect island, and then the tape measure comes out. Too tight and you're turning sideways to open the dishwasher. Too loose and the island drifts away from the work triangle, adding steps to every meal. The right gap is the difference between a kitchen that flows and one you fight with daily.
The short answer: leave 42 inches between the island and opposing counters for one cook, and 48 inches if two people cook together. These figures come from the National Kitchen & Bath Association (NKBA) Kitchen Planning Guidelines, the industry's most widely used reference for kitchen layout. Below, we cover why those numbers work, how to measure correctly, and which islands fit which room sizes, including the kitchen islands and carts that suit each one.
Table of Contents
Work aisle vs. walkway: why the numbers differ
The NKBA draws a clear line between two kinds of space:
- Work aisle (42" for one cook, 48" for two): the gap between an island and the counters, cooktop, or sink opposite it. People stand, turn, and open things here.
- Walkway (36" minimum): a pure passage, such as the route from the dining area to the back door.
The extra 6 to 12 inches in a work aisle accommodate a standing cook, an open dishwasher or oven door, and someone squeezing past. This is why 36" looks fine on a floor plan but feels cramped in real use. If the gap is where you prep, cook, or load appliances, plan for 42" or more.
Map the island's job before choosing a size
Each side of an island does a different job, and each side needs its own clearance:
- The cooking side faces the range or sink. Give it a full 42–48".
- The seating side needs room for stools plus a path behind them, so allow more than a bare work aisle.
- The ends are traffic routes. If they connect the kitchen to a hallway or dining room, keep them at 36" or wider.
Before shopping, sketch your kitchen and mark the sink, range, refrigerator, and doorways. Then note which island sides will be prep zones, which will be seating, and which will be thoroughfares. That sketch will narrow your options faster than any product filter.
How to measure the gap correctly
Measure from the projecting surfaces, not the cabinet bases. Countertop overhangs, handles, and appliance fronts all eat into clear space, so find the narrowest point on each side.
Then use this simple formula for the cross-room span:
Island depth + two work aisles = minimum span between opposing counters
Example with a 120" span between two parallel counter runs:
- 30" island + 42" + 42" = 114", leaving 6" to spare
- 32" island + 42" + 42" = 116", leaving 4" to spare
Two inches of island depth can decide whether a layout works. Run the same math along the island's length to check the end routes.
Finally, tape it out on the floor. Mark the island footprint with painter's tape, then open the dishwasher and oven, pull out a stool, and walk a full meal prep. This 10-minute test catches problems that no drawing will.
Which island fits which kitchen
Start with the span between your opposing counters, subtract the island depth, and see what’s left for aisles. Use this table to find your size category first.
Island type | Typical footprint (W × D) | Min. span with 42" aisles | Min. span with 48" aisles | Best for |
Rolling cart / prep cart | 24"-40" × 16"-24" | 100"-108" | 112"-120" | Small or galley kitchens, renters, flexible layouts |
Compact island | 40"-50" × 24"-30" | 108"-114" | 120"-126" | Mid-size kitchens, one-cook households |
Standard island | 55"-65" × 30"-32" | 114"-116" | 126"-128" | Open-plan kitchens, families, occasional hosting |
Large island | 70"+ × 32"-36" | 116"-120" | 128"-132" | Spacious kitchens, two-cook setups, heavy storage needs |
How to read it: Min. span = island depth + two work aisles (depth + 84" for 42" aisles, depth + 96" for 48" aisles). If your opposing counters are 110" apart, you can fit a compact island with 42" aisles, but not a standard one. If the span is just short of a category, move down one size rather than shrinking the aisles.
Compact island: the 50" island with built-in lighting
The 50-inch LED-Lit Kitchen Island measures 50" wide by 30" deep by 35" high, with doors, a drawer, and adjustable shelving.
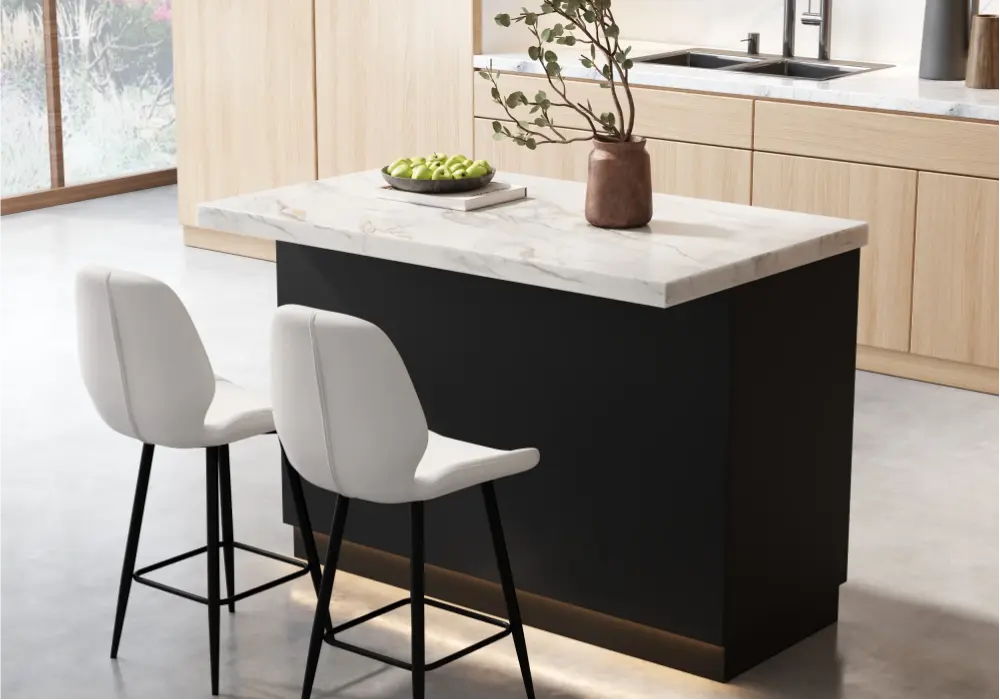
At 30" deep, it's the easiest of the three to fit into a mid-size room. A kitchen with 114" between opposing counters can hold it with a full 42" on both sides.
Real-life scenario: A couple cooking dinner in a 10-foot-wide kitchen. One person preps at the island while the other works the range behind them. The shorter 50" length keeps both ends open, so you can still reach the refrigerator or step out to the dining area without squeezing past a corner. Use the drawer for knives and utensils at the prep spot, and the adjustable shelving for pots and small appliances you want within arm's reach. The built-in lighting also gives you a work light over the surface for evening cooking.
Standard island: the 60" extendable island
The 60-inch Extendable Kitchen Island is 60" wide and 31.5" deep when retracted, with three drawers and two shelves, and an extending top that adds surface area when you need it.
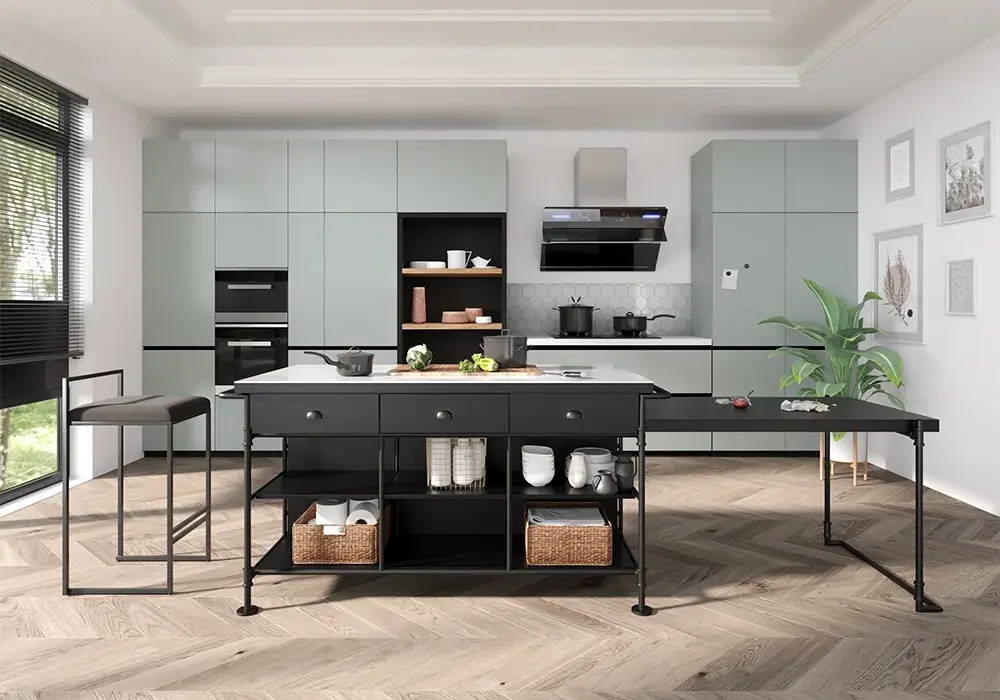
Plan it twice: once closed for everyday use, and once extended for guests. Check that the extended position still leaves a clear route at the end of the island.
Real-life scenario: A family that cooks on weeknights and hosts on weekends. During the week the island stays compact, with the three drawers handling cutting boards, baking tools, and everyday cookware. On party days, extend the top to create a buffet line or a baking station for a holiday cookie session. If your kitchen has a spare foot or two at the island's end, the extension turns one piece of furniture into two layouts.
Large island: the 72" sintered stone island
The 72-inch Black Sintered Stone Kitchen Island is 72" wide by 32" deep by 35" high, with cabinet, drawer, and shelf storage under a stone top.
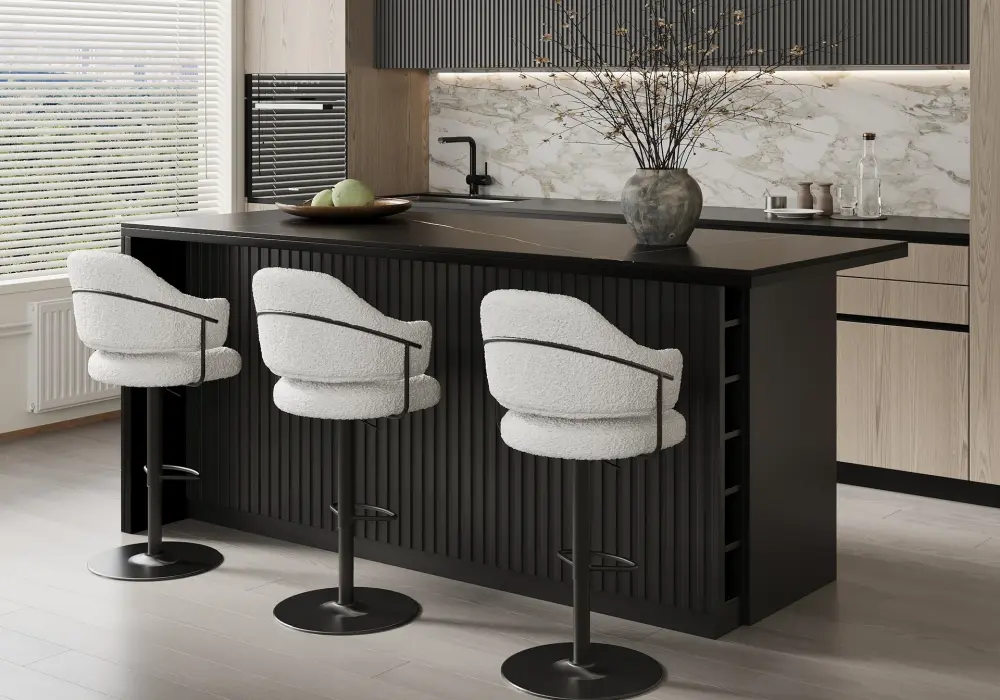
This is the one for kitchens with at least 116" between opposing counters. The 72" length gives you a real prep zone plus room to spread out, and the 32" depth supports a wide working surface.
Real-life scenario: A household where two people cook at once, or one person bakes while another preps. Split the island into zones: a baking and rolling area at one end, chopping near the sink side, and storage you can reach from both. If the dishwasher sits across from the island, keep your most-used drawer fronts away from its door swing so opening one never blocks the other. For the two-cook setup, aim for the 48" aisle on the busier side and use the extra length to keep the two workstations apart.
Placement mistakes to avoid
- Measuring between cabinet bases instead of countertop edges. Overhangs can steal 1–2 inches on each side.
- Planning around closed doors. Open the dishwasher, oven, and refrigerator in your tape layout and stand where you'd really stand.
- Forgetting seating depth. A tucked-in stool is smaller than an occupied one. Leave a path behind seated guests.
- Optimizing one side only. Pushing the island toward a wall may improve one aisle and wreck another. Check the whole perimeter.
- Ignoring end routes. A generous work aisle doesn't help if the island's end blocks the way to the pantry.
If the numbers don't work, choose a smaller island rather than squeezing the aisles. A 50" island with comfortable gaps beats a 72" island that traps you.
Frequently Asked Questions
Is 36 inches enough between cabinets and an island?
36" works for a pure walkway, but it's tight for an opposing work aisle. If anyone prepares food or opens appliances in that gap, aim for 42" or more.
Where do I measure the gap from?
From the countertop edge or appliance front on one side to the island's edge on the other, at the narrowest point. Include overhangs and handles.
Does an appliance door opening count?
Yes. Open the dishwasher or oven in your tape layout and check that you can still stand in front of it and that someone can pass behind you.
How much room do I need behind island seating?
Plan for the occupied stool position plus a path behind it. Leave more than the basic 36" walkway if people will pass behind seated guests.
Are these building-code requirements?
They're NKBA planning recommendations, not code. Local codes and accessibility needs vary, so check them for permanent renovations.